Showing posts with label how to. Show all posts

7.15.2011

How To: Neon and Neutral Nails

I am head over heels for the neon and neutral trend that's floating around the fashion world right now. I've failed miserably at finding neon pieces. Everywhere I go, I'm looking - but no such luck. So I've turned to my nails. I grabbed two of my favorite colors - a neon and a neutral - and got to painting.  

Essie's Cute as a Button and Jazz

I first tried out a more subtle approach - one neon tip. It's simple: 

1. Paint your nails your favorite neutral color.
2. Place a strip of tape over your nail leaving a small tip at the top.
3. Paint the tip, let it dry, and remove tape.
Ta-dah! 


If you'd like a little more neon in the mix, go ahead and just paint the whole nail neon. 


I also think a neon yellow or orange would have looked fantastic. 

4.27.2011

How To: Look for an Interview


Let me start out by saying that every job interview is different; what you wear and how you look during an interview highly depends on the job itself. This particular look and the following guidelines are for a job interview in healthcare. If you were interviewing for a position in a company that is more fashion-forward (e.g., PR, assistant, consultant) I believe the dress could be a bit more bold, trendy, and fashionable. However, for many jobs the interview is less about what you look like and more about what you know - that was the case here. 

For this interview I wanted my resume and what I had to say to shine above everything else. This doesn't mean I threw fashion and beauty to the side, I just kept it as simple as possible. 

Attire. I kept things simple, but tailored. Instead of going with a classic, three-piece suit, I incorporated three different pieces and three neutral colors. I felt as though this kept the look professional, but still modern. Instead of adding color through accessories like a necklace or bracelet I added my color through my bag. 

Jewelry. The only jewelry I wore for this interview was large, pearl stud earrings (again, going simple and classic). However, I do think it would have been perfectly fine to put on a nice watch or even a simple necklace. I wanted to avoid anything that would have been too much. For example, multiple bracelets with a  watch would have looked nice, but would have made too much noise - very distracting when you're trying to sell yourself. 

Bag. Instead of carrying my purse and a bag with my resume and other relevant papers, and larger carry-all bag fit the bill. The large pockets on the side were great for easy access to pens and storage for my keys and there were pockets inside to house my wallet and cell (that was off!). The large bag not only offered a bit of color to my neutral look, but also was a simple and organized way to carry everything I needed. 

Makeup. If I had a detailed picture of my face you would see my makeup is light and neutral. I put a tiny bit of concealer under my eyes, dusted my face with mineral powder to even the skin tone, and added a light dusting of a pink, matte blush to give my cheeks definition and color. I did a light, neutral smokey eye (light brown on my lid and a skin-tone tan blended in my crease), a thin and short winged eyeliner to open my eyes, and a couple strokes of mascara. On my lips I, again, kept things natural by using a lipstick that was the color of my lips.

Perfume. Don't wear it. Not to an interview. What may seem like a light spray to you could be suffocating to the interviewer. Even if it's light, someone else could smell it and easily become distracted. 

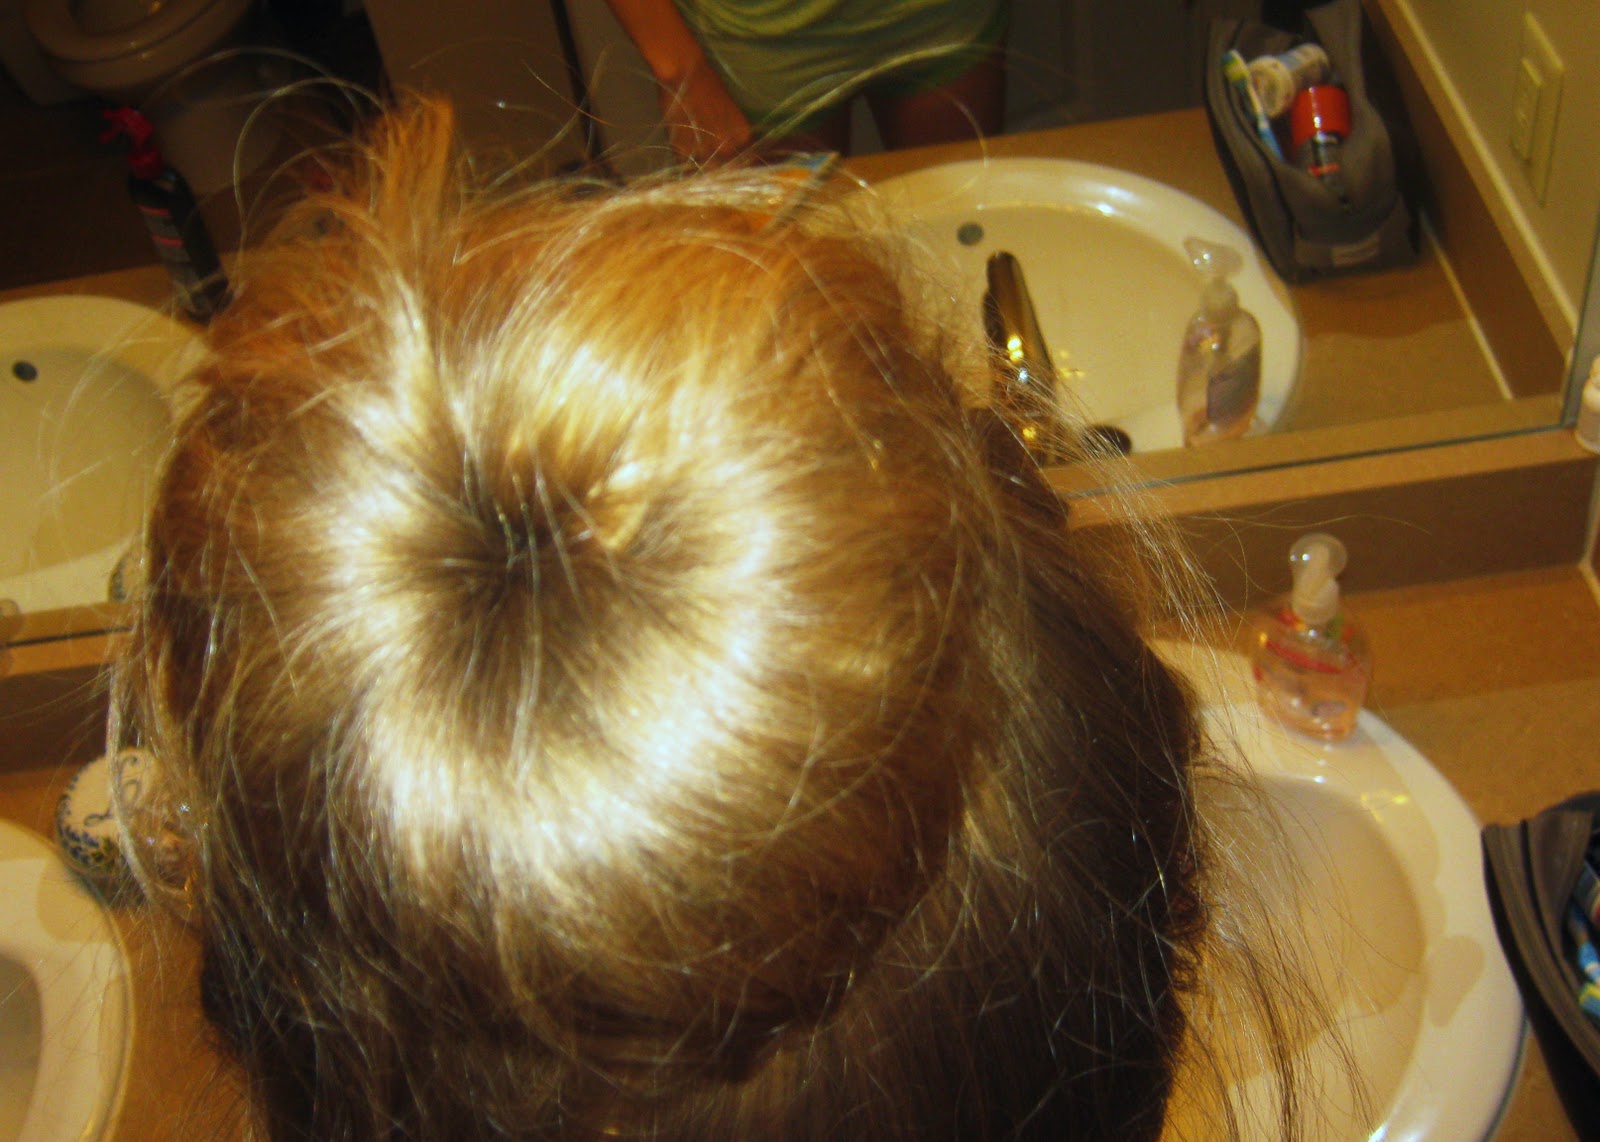
Hair. Since my hair is longer I decided to go with an up-do. A simple ponytail, with a small section of my hair wrapped around the holder - to give a more polished look to a simple do. I didn't want my long hair in my face or all over the place during the interview. I considered just pulling and front pieces back and going with a half-up/half-down look, but the ponytail was just easier. 

Nails. I took any nail polish that was already on off. While neons and pastel nails are all over the place right now, I'm pretty sure your interviewer won't appreciate it (unless you're interviewing for a trendy company). Again, staying with the simple and non-distracting look I decided to take my pink nail polish off. If you are someone that can't go out of the house without their nails perfect and polished - that's fine. Just choose a neutral color that won't grab attention. 

Teeth. If you know of your interview in advance I would recommend using a teeth-whitening system. Even just a couple days of using white strips can make a difference. Bright white teeth are more pleasant to look at and aren't as distracting as yellow teeth - at least that's how I feel. Also be sure you brush your teeth, pop in a mint, or chew a piece of gum before the interview (but make sure you spit out the gum before going in - if you're forgetful, go with the mint). 

Other tips. Here are a few other grooming and preparing tips to consider.
Clean up your eyebrows by plucking outlying hairs.
Get a hair cut/trim before the interview - you don't want split ends all over the place. 
An interview is not the time to try out a new hair do or a new makeup look. 
Consider comfortable shoes - there may be a tour as part of the interview and if there's not, you should ask for one.
Get ready early. You never know what may come up or go wrong while getting ready (someone could stop by the house or your hair might not be cooperating).

In a nutshell these tips and guidelines are more on the basis of keeping your look clean and simple. I made sure nothing that I was wearing or anything else about my looks was distracting. Again, this interview wasn't about selling my personal style, but about selling myself, my knowledge, and my skills. Good luck on your next interview!


P.S. - I got the job!

3.30.2011

Daily Threads: One Maxi, Two Ways

My second item to swap and remix: this Emanuel Ungaro maxi skirt. I initially wanted to jump in with everything one else and wear a waist-tied chambray (which I did, scroll down), but I also wanted to do something completely different with it. So here ya go - a maxi skirt as a dress. It's been cooler out, so throwing on a cardigan and boots just made sense.  I just tied a knot to make it a bit shorter and boom.


So, um. Ignore than awkward necklace that is confused as to where he should be. 

black cardigan and chambray: target (similar)
skirt: swapped
belt: NY&Co.
boots and sandals: steve madden
necklaces: self-made (buy here)

3.16.2011

How To: Clean Your Makeup Brushes

Cleaning your makeup brushes is vital. If you aren't regularly cleaning these brushes oils, bacteria, and makeup buildup all just sit on the brushes and are transfered into your actual makeup and on your face - not good. So you want to make sure you clean the brushes once a week. I recommend Sunday nights - that way they are ready to face the week! 

Since I had a few brushes that needed cleaning, I thought I would share how I do this.

Directions:
1. Get an old cup and cover the bottom with a thin layer of shampoo. Any kind is fine - you don't need a specific brush cleaning shampoo or the most expensive.

2. Place the brushes down into the cup so that the bristles get the shampoo on them. Wiggle them around a bit to make sure the shampoo is on all of the brushes.

3. Get warm water running. Quickly put the cup under the faucet so that you fill the cup up with about an inch of water (you don't want too much as water should not be above the silver piece of the brush).

4. Wiggle the brushes around to get the shampoo/water mix on all the brushes.  


5. Pull one brush out at a time and move it around in a circular motion in the palm of your hand. The suds will be dirty.


6. Move your hand under the water while continuing moving brush in circular motion. Keep doing so until water runs clean of makeup and suds. You may want to alternate squeezing out the brush and rubbing it on your hand. *Also, be sure to keep brush at a downward angle so water does not go up into brush.

7. Completely wring out excess water and use your hand to shape the bristles.

8. Lay the brushes out to dry overnight - they will be completely dry and ready to use in the morning. *I like placing my brush on some sort of ledge or over the counter so that all side of the brush are able to breathe/get fresh air. 


And now they are clean - free of excess oils, bacterial, and makeup.


I learned this method from a makeup artist. She used to work for MAC and stated this is how they clean their brushes in the store - cheap shampoo and all!

3.10.2011

Tutorial: Knotted Bun Up-do

I finally got around to recording the tutorial for a knotted bun up-do! The video is kind of long (sorry), but I pride myself on being thorough. (Actually, I could still be thorough without being long, but I only recored this once. I usually record a couple times and figure out what really needs to be said vs. me just rambling - like I am now.)

This bun is easy to do and takes very little time - especially for being visually interesting. I mentioned in the video, and I'll say it here, tying your hair in a knot can be frustrating. It took me a while to get it down, so don't get discouraged if you have trouble initially. Just practice. 

The hairstyle is so versatile! It can easily be worn to class, work, on the weekend, on a date, or a night out with the girls. You can tie the knot low for a romantic feel or up higher where a ponytail might sit. You can also comb hair back for a more clean, finished look or pull pieces out (like I did) for a more messy, effortless look - it's all up to you. Good luck!

Here's what I used:
Dirty hair 
Dry shampoo
Texturing spray/balm
Spin hair pins (optional)
Bobby pins 
Teasing comb
Hairspray

See a picture of the bun here


2.22.2011

Tutorial: Tying a Scarf and a Belt

{Scarf: Market in Charleston, SC, Belt: Target}

Here it is! A tutorial on the ways I tie my scarf and the main way I tie my belt. It's taken long enough, right? Sorry about that. I didn't rehearse the video, so I kind of ramble and get off topic a couple times. Making videos is so weird. 

Oh, and, For the record - the faint music in the background is from a XM station - not necessarily music I like. In fact, I don't like any of the songs that were playing. Just wanted to throw that out there. 

1.31.2011

Hair Tutorial: Fishtail Braid


I've had a few people ask for a tutorial on my fishtail braid - and so here it is! I hope it's easy to understand and I'd love to know if you re-create the look! I'm also going to be doing one on a knotted bun later on. Enjoy!


The only important thing I said while the music was playing was that if you have really fine or silky hair, you may want to invest in some texturing product (a spray or balm). Textured hair really helps to keep the hair where you want it! Good luck!

12.09.2010

Hair Tutorial: My Everyday, Wavy Hair

I've gotten a ton of comments asking to do a hair tutorial on my everyday, wavy hair. Just about every time I post pictures of my outfit and my hair is down, you guys ask me to do this. So I finally got the guts to record myself doing my hair and narrate as I go. This is definitely my first tutorial so ignore the "ums" and any other awkward things I may do or say. 

I hope that it's helpful and close to what you all were asking for. Let me know what you think and if you try it yourself!


11.04.2010

The Sock Bun

Through Facebook I stumbled across a video that claimed putting your hair into a "sock bun" before going to bed would result in beautiful curls the next morning. I was curious. No heat? No slaving over the curling iron and rollers? Yes, please. So I tried it. And it works. Amazingly. And I wanted to share.

Here is the sock bun.


Here is my hair after sleeping in the sock bun.